Introduction and Key Insights
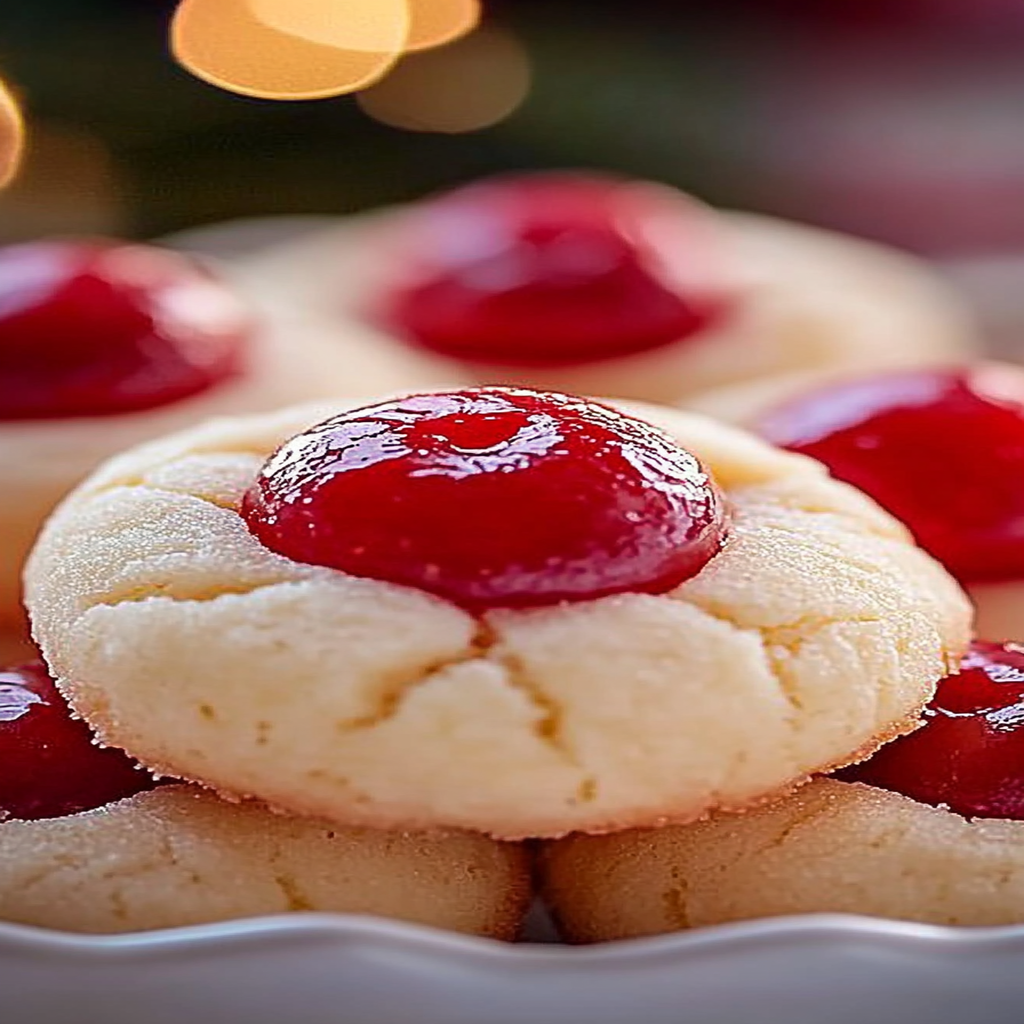
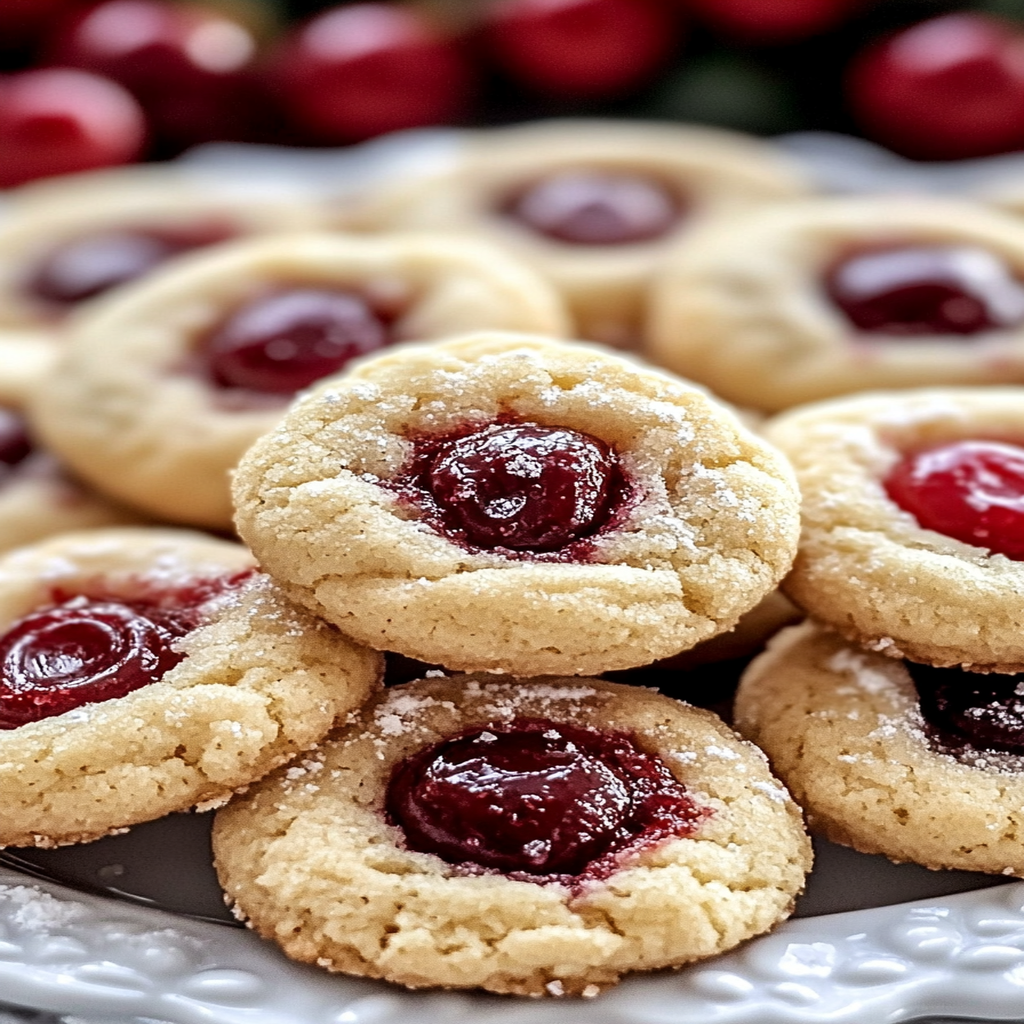
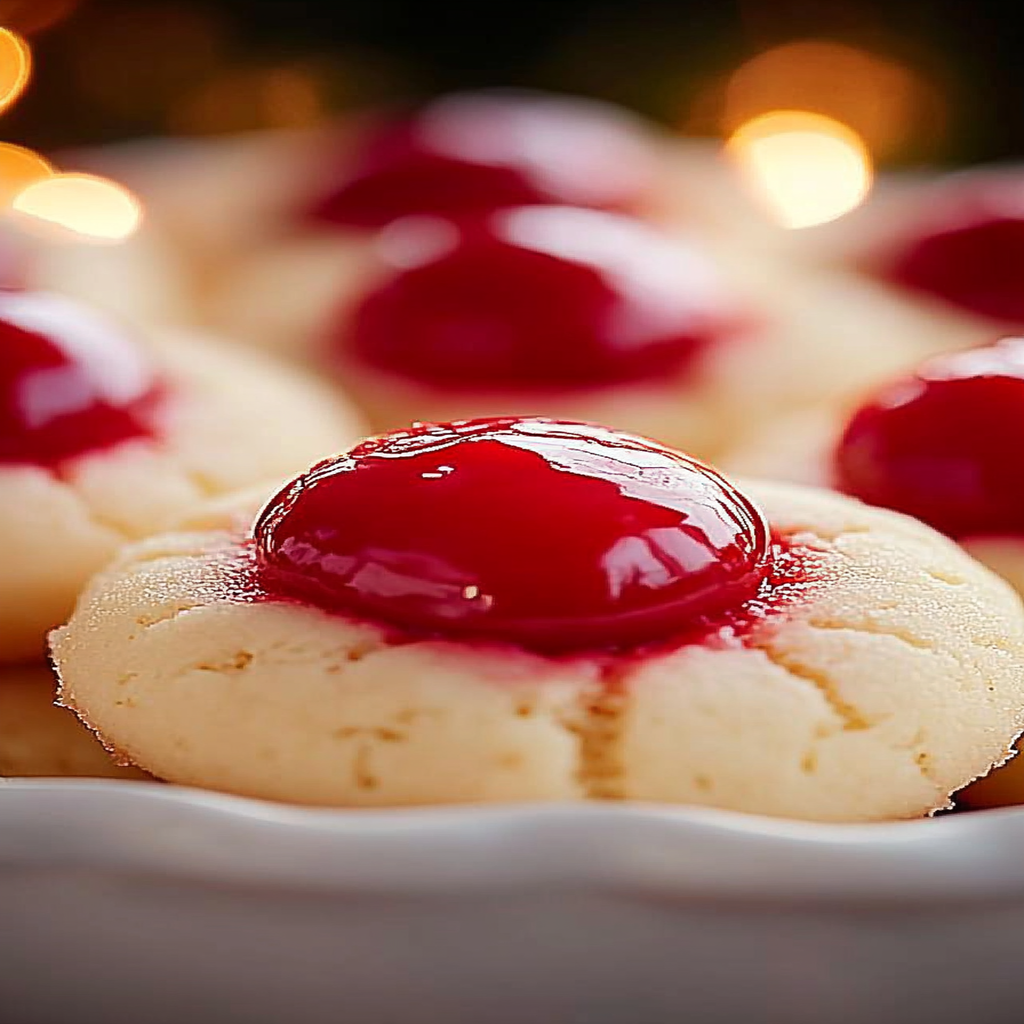
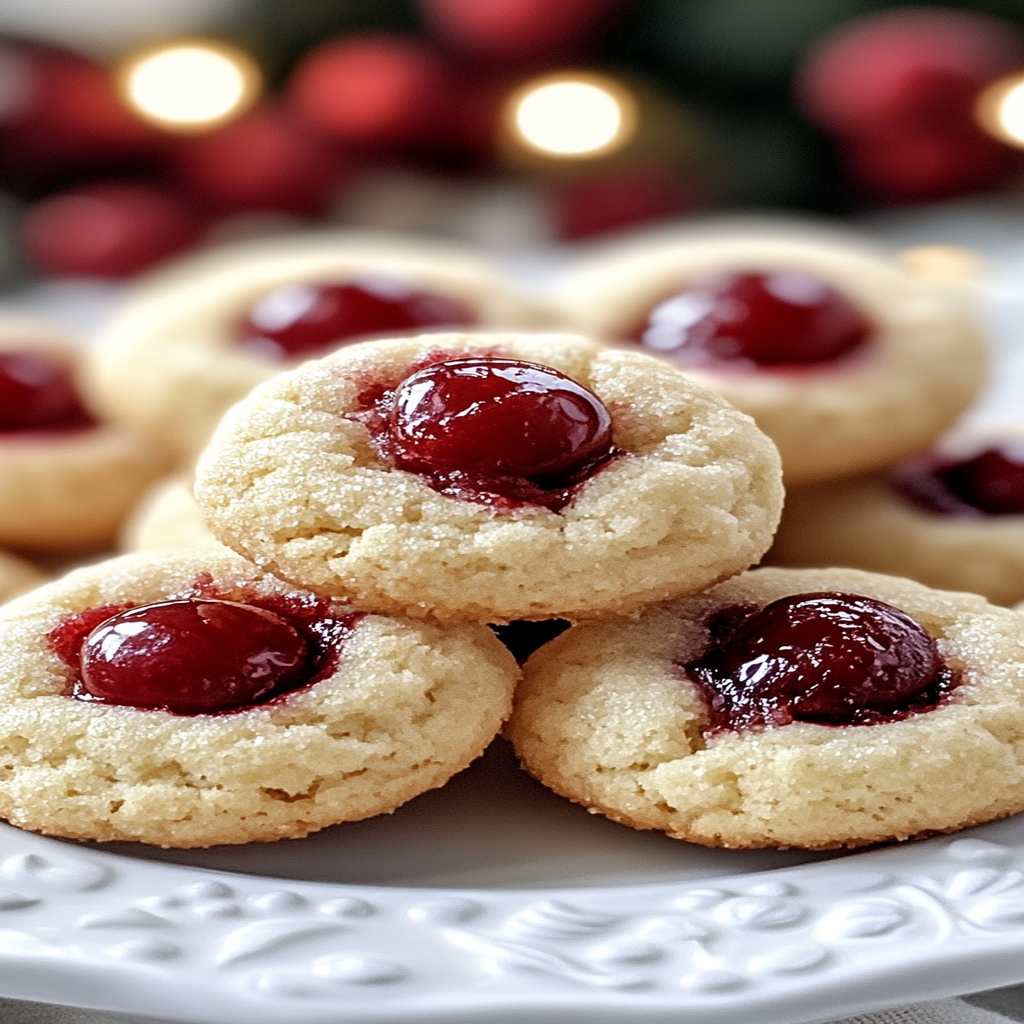
Cherry Kiss Cookies are a delightful treat that combines the sweetness of cherries with the rich flavor of chocolate kisses. These cookies not only look appealing but also offer an explosion of flavors that create an unforgettable experience for your taste buds. Whether you’re preparing them for a family gathering or a special occasion, these cookies are bound to impress everyone. The vibrant color of the cherries paired with the smooth chocolate makes these treats as beautiful as they are delicious.
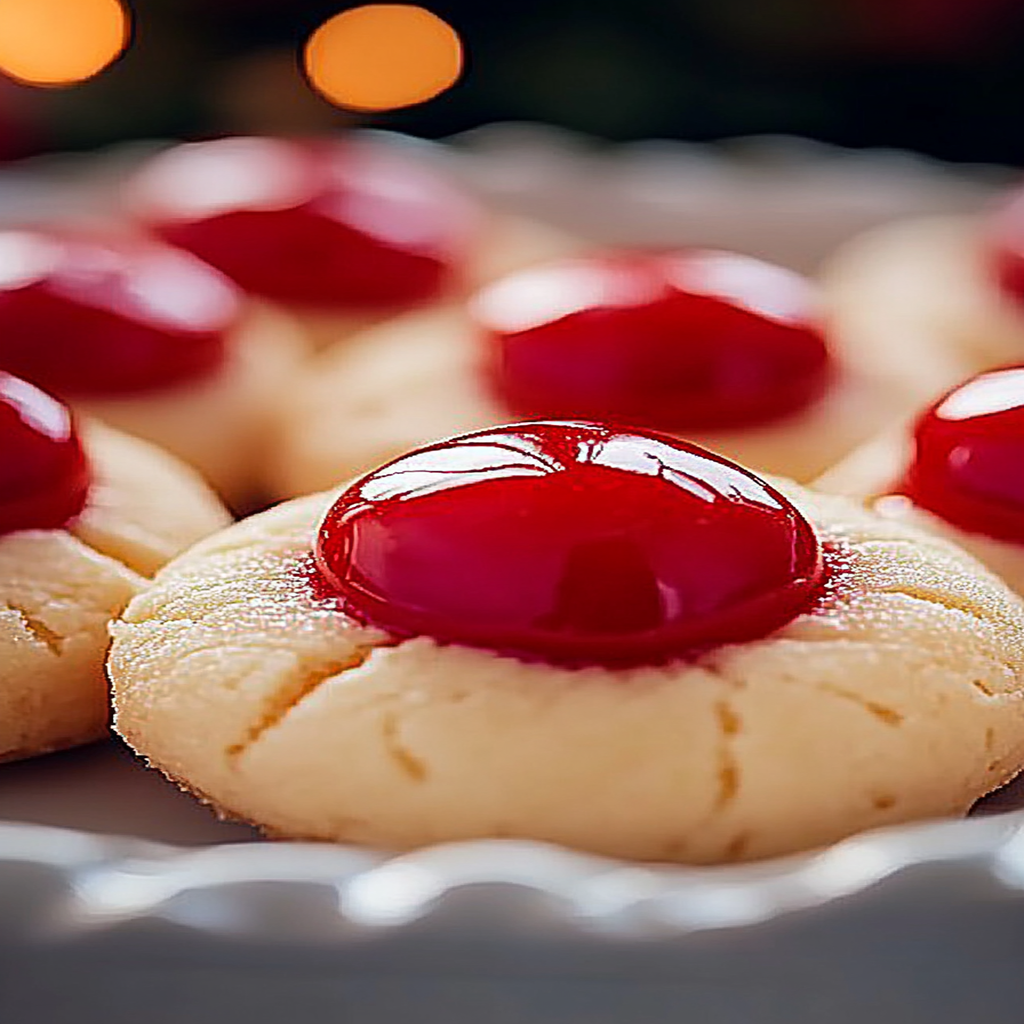
The beauty of Cherry Kiss Cookies lies in their simplicity. With just a handful of ingredients, you can create these mouth-watering delights from scratch. The process is straightforward, making it suitable even for beginner bakers. Moreover, they make excellent gifts when packed in a decorative box or tin. Imagine the smiles on your loved ones’ faces when they receive such a thoughtful and tasty present.
In this article, we will explore all aspects of creating the perfect Cherry Kiss Cookies. From understanding the essential ingredients to step-by-step preparation instructions and serving tips, you’ll have everything you need at your fingertips. So let’s embark on this baking journey together and uncover the secrets behind these irresistible cookies.
Ingredients Overview for Cherry Kiss Cookies
All-Purpose Flour
All-purpose flour forms the base of your Cherry Kiss Cookies. It provides structure and texture while allowing flexibility in various cookie recipes. For this recipe, you’ll need 2 cups of all-purpose flour to create a soft yet sturdy cookie base that holds up well when baked.
Granulated Sugar
Granulated sugar adds sweetness and helps achieve a slight crispness on the outside of each cookie. You will need 3/4 cup of granulated sugar which balances perfectly with the tartness of cherries and richness of chocolate kisses.
Butter
Butter is essential for adding moisture and flavor to your cookies. Use 1/2 cup (1 stick) of unsalted butter at room temperature for optimal mixing. The butter should be soft enough to cream easily with sugar but not melted.
Eggs
Eggs act as a binding agent in your cookie dough while also contributing moisture and richness. For this recipe, you will use 1 large egg to help achieve a chewy texture that complements the other ingredients beautifully.
Maraschino Cherries
Maraschino cherries bring a lovely burst of flavor and color to your cookies. You will need about 1/2 cup of chopped maraschino cherries folded into the dough; they provide a sweet-tart taste that pairs wonderfully with chocolate kisses.
Chocolate Kisses
The star ingredient. Chocolate kisses serve as a stunning topping for each cookie. You will need approximately 24 chocolate kisses, which will melt slightly in the oven before forming an irresistibly gooey center on top of each cookie.
How to Prepare Cherry Kiss Cookies
Step 1: Preheat Your Oven
Start by preheating your oven to 350°F (175°C). Preheating ensures that your cookies bake evenly and achieve that perfect golden brown color when finished. While the oven warms up, gather all your ingredients and prepare your baking sheets by lining them with parchment paper or silicone mats.
Step 2: Cream Butter and Sugar
In a large mixing bowl, combine softened unsalted butter with granulated sugar using an electric mixer or whisk until light and fluffy—approximately 3-5 minutes at medium speed should suffice. This process incorporates air into the mixture, yielding a lighter texture in your final cookie product. Make sure to scrape down the sides of the bowl occasionally so all ingredients blend seamlessly.
Step 3: Add Egg and Mix Well
Once your butter-sugar mixture is fluffy, add one large egg into the bowl and mix well until fully incorporated—about 1-2 minutes should do it. The egg not only binds all ingredients together but also enhances moisture content within each cookie bite.
Step 4: Incorporate Dry Ingredients
In another bowl, whisk together all-purpose flour with salt before gradually adding it into your wet mixture while mixing on low speed—this helps prevent flour from flying everywhere. Continue mixing until just combined; avoid overmixing as this may lead to tough cookies later on.
Step 5: Fold in Chopped Cherries
Now it’s time to fold in those delightful maraschino cherries. Use a spatula or wooden spoon instead of an electric mixer here—gently incorporate approximately half a cup of chopped cherries into your dough until evenly distributed throughout without breaking them apart too much.
Step 6: Shape Dough Balls
With clean hands or using a cookie scoop for uniformity purposes (about one tablespoon per cookie), shape small balls from your cookie dough before placing them onto prepared baking sheets spaced about two inches apart—these babies spread during baking.
Step 7: Bake Your Cookies
Place trays in preheated oven for about 10-12 minutes until edges turn lightly golden brown while centers remain soft—they’ll continue cooking once removed from heat due to residual warmth. Allow cooling slightly before pressing one chocolate kiss onto each warm cookie ensuring it gently sinks into its surface area without completely melting away.
Serving and Storing Tips
Serving Suggestions
Cherry Kiss Cookies can be enjoyed warm right out of the oven or cooled down; either way offers its own unique experience. Pair them alongside cold milk for classic comfort or serve them at parties on colorful platters among other treats like brownies or cupcakes—this creates an inviting dessert table sure to impress guests.
Consider garnishing with additional chopped cherries sprinkled around each plate for added visual flair—this elevates their presentation significantly. They also make excellent additions to lunchboxes as sweet surprises during school days or work breaks alike.
Storing Your Cookies
To keep Cherry Kiss Cookies fresh longer after baking day has passed—store them properly. Allow cooled cookies enough time at room temperature before transferring them into airtight containers layered between parchment paper sheets if necessary preventing sticking together over time—as well as maintaining their textures intact.
If you plan on enjoying these delightful treats later rather than sooner—consider freezing them instead. Place individual portions inside freezer-safe bags labeled clearly indicating date made; they can last several months frozen while still retaining flavors especially when thawed overnight prior consumption.
By following these guidelines closely along every step from preparation through serving/storage—you’ll unleash an array full-flavored Cherry Kiss Cookie experiences that’ll satisfy both friends & family alike.
Mistakes to avoid
One common mistake when making Cherry Kiss Cookies is overmixing the dough. Overmixing can lead to tough cookies instead of the desired soft and chewy texture. When you combine the ingredients, mix just until they come together. This will help maintain the delicate structure of the cookies and ensure they remain light and airy.
Another mistake is not chilling the dough before baking. Chilling the dough for at least 30 minutes helps solidify the fat, which prevents the cookies from spreading too much in the oven. This results in thicker, more appealing cookies that hold their shape better. Skipping this step can lead to flat, unappetizing cookies.
Using stale or expired ingredients is also a critical error. Always check your baking supplies before starting. Fresh ingredients significantly enhance flavor and texture. For instance, using fresh cherries will improve both the taste and appearance of your Cherry Kiss Cookies.
Additionally, many bakers forget to preheat their oven properly. An oven that isn’t at the right temperature can affect how evenly your cookies bake. Make sure to preheat your oven for at least 15 minutes before placing your cookies inside. This helps achieve that perfect golden-brown finish.
Finally, neglecting to use parchment paper or a silicone mat on your baking sheets can result in sticking and messes. These materials create a non-stick surface, ensuring that your Cherry Kiss Cookies come off easily and retain their shape during baking.
Tips and tricks
To perfect your Cherry Kiss Cookies, consider using high-quality chocolate for the kisses on top. The chocolate adds an essential flavor component, so opt for brands known for their rich taste and smooth texture. This small change can elevate your cookies from ordinary to extraordinary.
A great tip is to scoop out uniform portions of dough using a cookie scoop or tablespoon. Consistent sizing ensures even baking, preventing some cookies from being overdone while others remain undercooked. This technique also gives your batch a professional look.
When it comes to cherries, choose ripe ones for maximum sweetness and flavor. If you’re using maraschino cherries, make sure to drain them well before mixing them into the dough; excess moisture can alter the cookie’s consistency.
Experiment with different types of nuts as well; they add texture and depth of flavor to your Cherry Kiss Cookies. Chopped pecans or walnuts pair beautifully with cherries and chocolate, creating a delightful combination that enhances every bite.
Lastly, let your cookies cool on the baking sheet for a few minutes before transferring them to a wire rack. This allows them to set properly without falling apart while you move them. Patience here will reward you with perfectly shaped cookies.
Suggestions for Cherry Kiss Cookies
When preparing Cherry Kiss Cookies, consider incorporating almond extract into your dough for an extra layer of flavor. Almond complements cherry beautifully and adds complexity without overpowering other ingredients.
You might also want to experiment with different types of flour; substituting half of all-purpose flour with whole wheat flour can give your cookies a nutty taste and boost their nutritional profile without sacrificing texture or flavor.
Another suggestion is to drizzle melted chocolate over cooled cookies for an elegant touch. This not only enhances presentation but also adds richness that complements the cherry filling perfectly.
If you want an extra kick of sweetness, try sprinkling coarse sea salt on top before serving; this creates a delightful contrast between sweet and salty flavors that many people love in baked goods.
Consider preparing these cookies in advance by freezing unbaked dough balls. You can then bake fresh Cherry Kiss Cookies whenever you crave them without going through all the preparation again—simply adjust the baking time slightly if they’re frozen.
FAQs
What are Cherry Kiss Cookies?
Cherry Kiss Cookies are delightful treats made by combining cherry-flavored ingredients with classic cookie dough topped with chocolate kisses. These delicious bites often feature chopped cherries integrated into a soft sugar or butter cookie base, creating a balance between sweet fruitiness and rich chocolatey goodness.
How do I store leftover Cherry Kiss Cookies?
To store leftover Cherry Kiss Cookies effectively, place them in an airtight container at room temperature for up to one week. Make sure they are completely cooled before sealing them inside so that moisture doesn’t develop inside the container, which could make them soggy over time.
Can I use frozen cherries for my Cherry Kiss Cookies?
Yes. Frozen cherries can be used in place of fresh ones when making Cherry Kiss Cookies; however, ensure they are thawed and drained well before adding them into the dough mixture. Excess moisture from frozen cherries may impact cookie texture if not handled correctly.
Are there substitutes for chocolate kisses?
If you’re looking for alternatives to traditional chocolate kisses in your Cherry Kiss Cookies, consider using white chocolate chips or even caramel-filled chocolates as toppings instead. These variations can add different flavors while still maintaining an appealing appearance on top of each cookie.
Can I make these cookies gluten-free?
Absolutely. To create gluten-free Cherry Kiss Cookies, simply substitute all-purpose flour with gluten-free flour blends available commercially or almond flour if you prefer a nutty flavor profile while retaining cookie structure during baking.
How long do these cookies take to bake?
Typically, Cherry Kiss Cookies require about 10-12 minutes in a preheated oven set at 350°F (175°C). Keep an eye on them towards the end—once they start turning golden brown around edges but still appear soft in center—they’re ready.
Conclusion
In summary, mastering Cherry Kiss Cookies requires attention to detail and avoiding common mistakes like overmixing or neglecting ingredient freshness. By following helpful tips such as using quality chocolate or incorporating unique flavors like almond extract into your dough—these little changes can transform ordinary cookies into unforgettable delights.
Storing leftovers properly plays an important role too; keeping those delicious treats fresh enhances enjoyment later on. With suggestions ranging from substitutions like frozen fruit options down through helpful techniques like scooping uniform portions—it’s clear there’s much joy found within creating this classic baked good.
Embrace experimentation as you craft these scrumptious treats filled with sweet surprises—your friends and family will surely appreciate every bite.
<.-- wp:wp-tasty/tasty-recipe {"id":1950,"lastUpdated":1735600944191} /-->

