
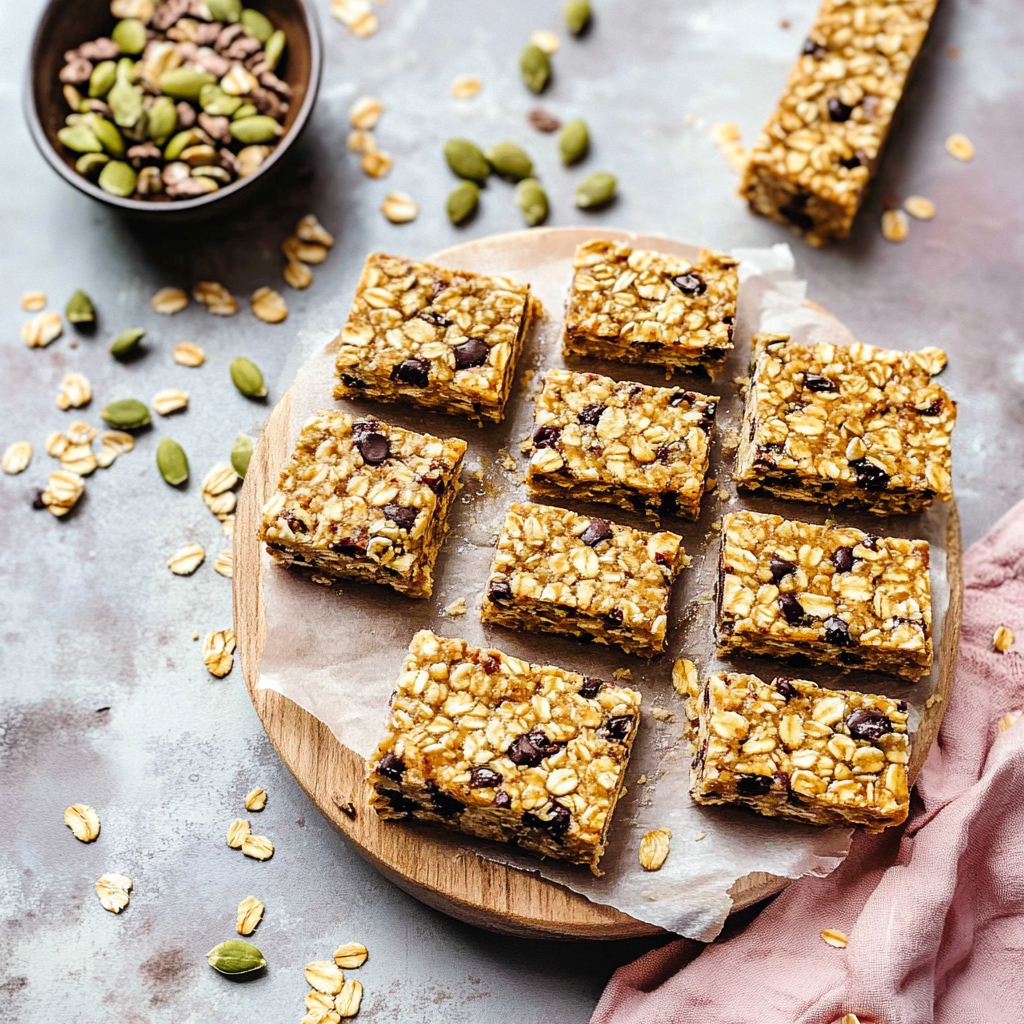
Homemade Granola Bars No-Bake are the superhero of snacks, swooping in to save the day with their chewy texture and delightful crunch. Imagine biting into a bar bursting with oats, honey, and a hint of cinnamon, all while knowing you didn’t even have to turn on your oven.
Picture this: You’re at home, maybe in your pajamas (because who are we kidding), and suddenly you realize you need a healthy snack ASAP. Fear not! These no-bake granola bars come to your rescue with minimal effort and maximum flavor. Whether it’s a midday pick-me-up or a post-workout treat, these bars have got your back.
Why You'll Love This Recipe
- These Homemade Granola Bars No-Bake are incredibly easy to prepare, perfect for busy days
- The flavor profile is customizable; add your favorite nuts or dried fruits
- Their visual appeal will make your snack game strong, while their versatility means they can fit any occasion from breakfast to dessert
I remember the first time I made these granola bars for a picnic. My friends devoured them within minutes and insisted I share the recipe—now they’re a staple at every gathering!
Essential Ingredients
Here’s what you’ll need to make this delicious dish:
-
Rolled Oats: Use old-fashioned rolled oats for that perfect chewy texture; quick oats won’t cut it here.
-
Nut Butter: Choose creamy almond or peanut butter for added richness; just make sure it’s natural without added sugars.
-
Honey: This sweetener binds everything together beautifully; opt for raw honey if you want extra health benefits.
-
Dried Fruits: Add raisins, cranberries, or apricots for a burst of flavor; make sure they are chopped into small pieces.
-
Nuts and Seeds: Walnuts or sunflower seeds add crunch; feel free to mix in whatever you have on hand.
-
Cinnamon: A sprinkle of ground cinnamon enhances the overall flavor; it makes everything taste cozy and comforting.
The full ingredients list, including measurements, is provided in the recipe card directly below.
How to Make Homemade Granola Bars No-Bake
Prepare Your Base: In a large mixing bowl, combine rolled oats and nut butter. Stir until well blended; the mixture should hold together nicely without being too dry.
Add Sweetness: Pour in honey and stir again until everything is evenly coated. The mixture should smell sweet and nutty at this point—your kitchen will thank you.
Mix in Extras: Toss in chopped dried fruits, nuts, and cinnamon. This step adds texture and flavor layers that will elevate each bite.
Press Into Pan: Line an 8×8 inch baking dish with parchment paper for easy removal later. Press the mixture firmly into the pan using a spatula, ensuring it’s even throughout.
Chill Until Firm: Place your granola bar mixture in the refrigerator for at least 1-2 hours or until set. Patience is key here—don’t rush this process!
Slice and Enjoy!: Once firm, remove from the pan and cut into bars or squares as desired. Store them in an airtight container for up to one week—if they last that long!
Making Homemade Granola Bars No-Bake is not only rewarding but also allows you to customize them according to what’s rattling around in your pantry. So go ahead—experiment with flavors! Maybe throw in some chocolate chips or coconut flakes next time for an indulgent twist.
These bars are perfect for breakfast on-the-go or as an afternoon snack that won’t leave you feeling guilty. Plus, they’re great for kids’ lunchboxes—no more soggy sandwiches!
Now grab those ingredients and let’s get snacking!
You Must Know
- Homemade granola bars no-bake are not just easy to make; they transform snacking into a delightful experience
- With the perfect balance of crunch and chewiness, they keep your energy up while satisfying your sweet tooth
- These bars are also customizable, so you can add your favorite flavors!
Perfecting the Cooking Process
To make homemade granola bars no-bake efficiently, prepare your ingredients first. Then, mix them well before pressing the mixture into a lined pan for even distribution.
Add Your Touch
Feel free to swap nuts for seeds or dried fruit for chocolate chips in homemade granola bars no-bake. Experimenting with ingredients makes each batch uniquely yours!
Storing & Reheating
Store your homemade granola bars no-bake in an airtight container at room temperature for up to two weeks. No reheating necessary—just grab and go!
Chef's Helpful Tips
- To achieve the perfect texture, ensure all ingredients are well-packed in the pan
- Use a variety of nuts and fruits for flavor diversity
- Let the bars chill completely before cutting them into squares for clean edges
I remember the first time I made homemade granola bars no-bake; my friends devoured them within minutes, requesting more before I could even take a bite myself!
FAQ
What is the best way to cut homemade granola bars no-bake?
Use a sharp knife and cut after chilling for neat, even squares.
Can I add protein powder to my granola bars?
Yes, adding protein powder boosts nutrition without altering flavor significantly.
How long do these bars last when stored properly?
Homemade granola bars no-bake can last up to two weeks if stored correctly.
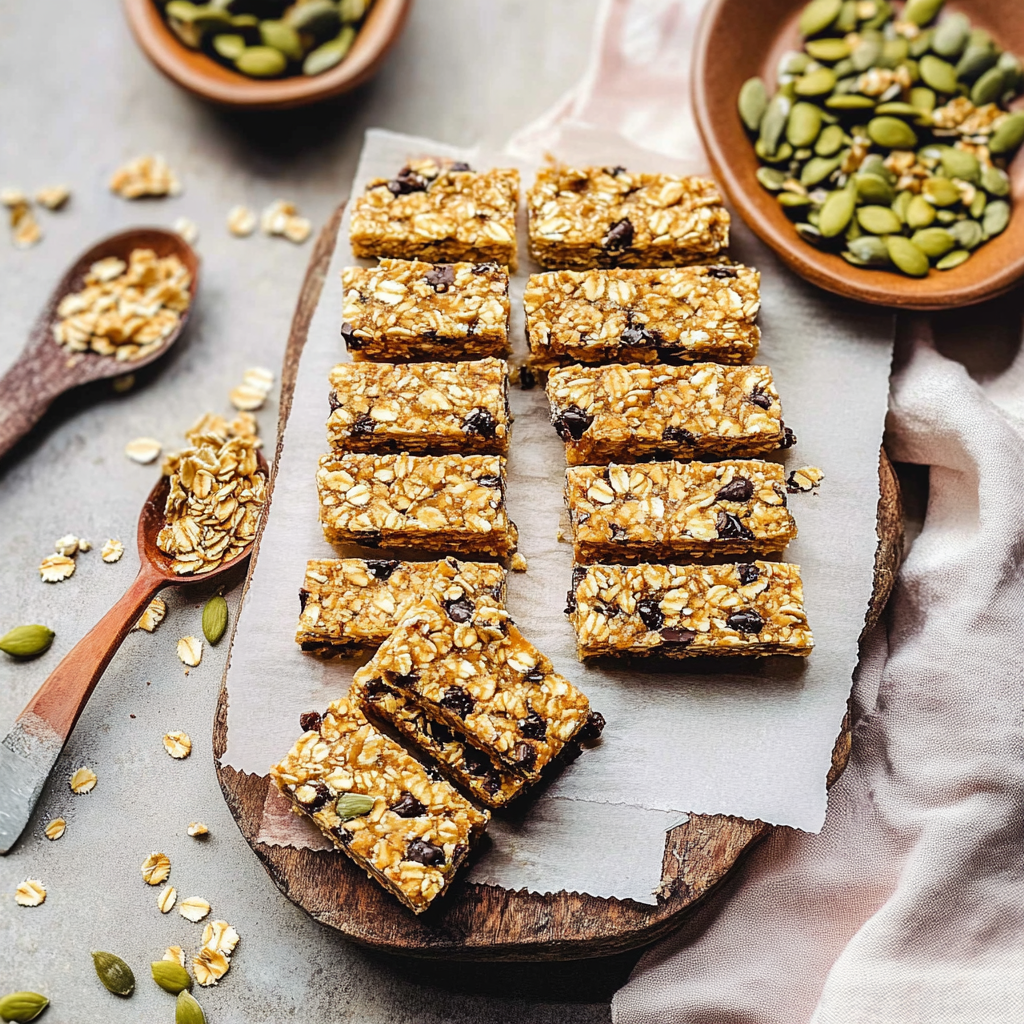
Homemade Granola Bars No-Bake

Homemade Granola Bars No-Bake are the ultimate guilt-free snack, combining chewy oats, creamy nut butter, and a touch of honey for sweetness. Perfect for busy days or after workouts, these bars are easy to customize with your favorite nuts and dried fruits. No oven required—just mix, chill, and enjoy a deliciously healthy treat that satisfies cravings and keeps you energized!
- Prep Time: 15 minutes
- Cook Time: None
- Total Time: 5 minute
- Yield: Approximately 12 bars 1x
- Category: Snack
- Method: No-Bake
- Cuisine: American
Ingredients
- 2 cups rolled oats
- 1 cup natural almond or peanut butter
- 1/2 cup raw honey
- 1/2 cup chopped dried fruits (raisins, cranberries, or apricots)
- 1/2 cup mixed nuts (walnuts or sunflower seeds)
- 1 tsp ground cinnamon
Instructions
- In a large bowl, mix rolled oats and nut butter until combined.
- Add honey and stir until evenly coated.
- Mix in dried fruits, nuts, and cinnamon.
- Line an 8×8 inch baking dish with parchment paper; press the mixture firmly into the pan.
- Refrigerate for 1-2 hours until set.
- Cut into bars or squares; store in an airtight container for up to one week.
Nutrition
- Serving Size: 1 bar (45g)
- Calories: 200
- Sugar: 8g
- Sodium: 10mg
- Fat: 9g
- Saturated Fat: 1g
- Unsaturated Fat: 7g
- Trans Fat: 0g
- Carbohydrates: 25g
- Fiber: 3g
- Protein: 5g
- Cholesterol: 0mg
Keywords: Feel free to substitute nuts with seeds or add chocolate chips for extra sweetness. To achieve clean cuts, ensure bars are fully chilled before slicing.
