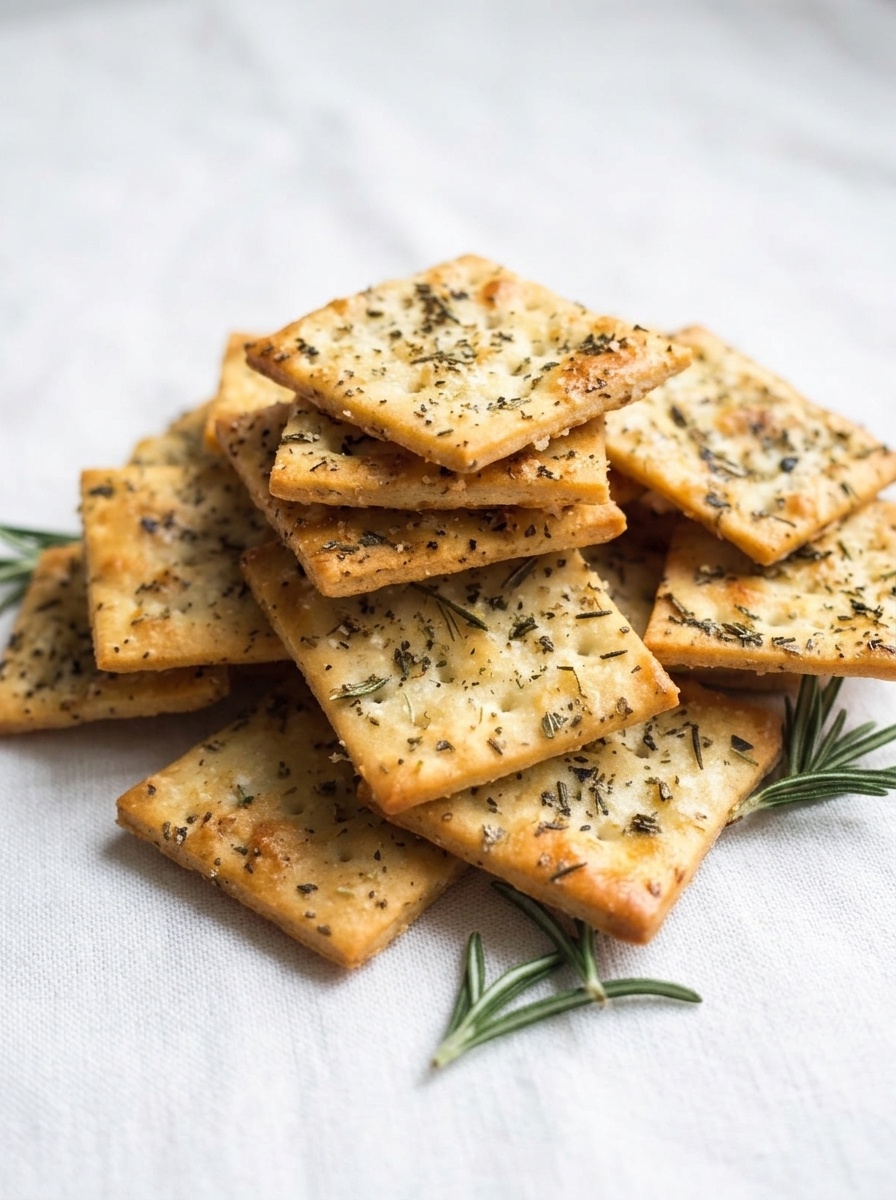
Growing up, my mom never let sourdough discard go to waste. She’d whip up snacks like these garlic herb crackers, turning leftovers into something special. They’re crispy and flavorful, bringing back memories of her kitchen, full of creativity and resourcefulness.
The key to success here is rolling the dough to 1/8 inch thick. This ensures a crisp-tender texture that makes these crackers addictive, while the garlic and herbs pack in the flavor.
Ingredients in Sourdough Discard Garlic Herb Crackers
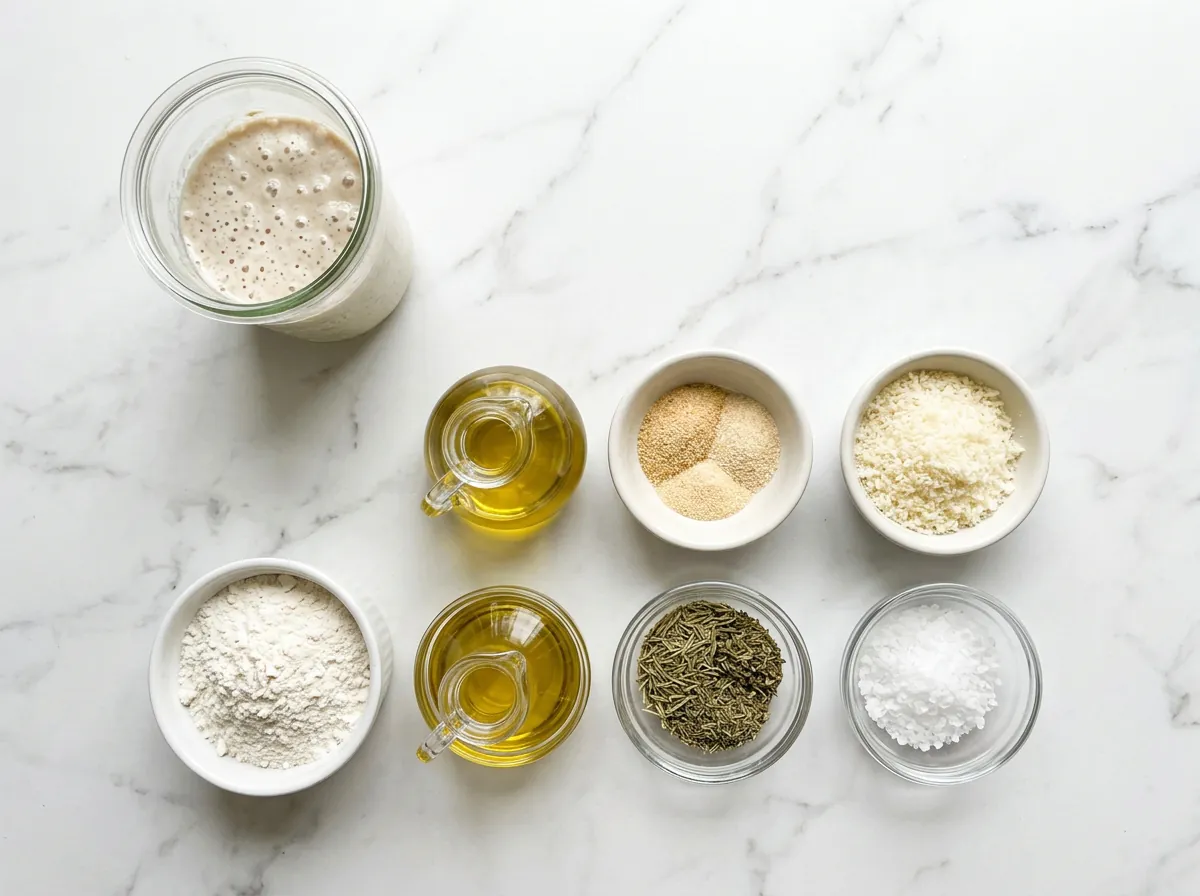
These crackers come together with just a handful of simple ingredients, each bringing its own qualities to the table. Let’s break down what you’ll need to whip up this no-waste snack.
- Sourdough Discard: This is the star ingredient, providing flavor and helping reduce food waste. Make sure it’s unfed for the best results.
- All-Purpose Flour: Creates the structure of the crackers, giving them that satisfying crunch. Adjust the amount slightly if you want thicker crackers.
- Olive Oil: Adds richness and helps crisp up the dough as it bakes. Don’t skip it; it’s key for that buttery flavor.
- Garlic Powder: Infuses the dough with a savory kick. Adjust the amount if you want more or less garlic flavor.
- Dried Rosemary or Thyme: These herbs elevate the taste without adding extra prep time. Use what you have on hand—both work well.
- Salt: Enhances all the flavors and is essential for that satisfying bite. Remember to sprinkle a little extra on top before baking.
- Key Technique: Rolling the Dough: Roll the dough to 1/8 inch thick for crisp-tender crackers; thicker dough won’t crisp up properly.
How to Make Sourdough Discard Garlic Herb Crackers
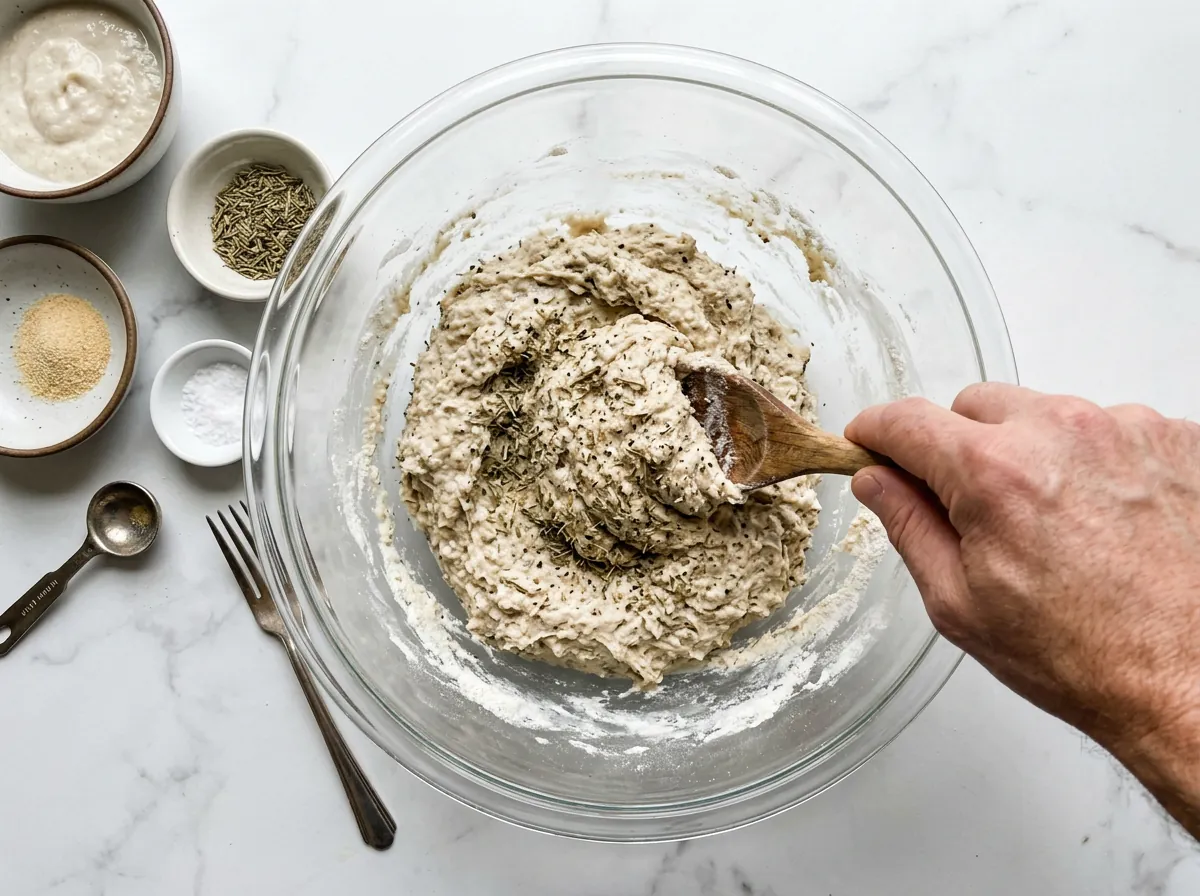
1. Mix the Cracker Dough: In a medium mixing bowl, combine the sourdough discard, all-purpose flour, olive oil, garlic powder, onion powder, dried rosemary, dried thyme, and salt. Stir with a wooden spoon until a smooth, pliable dough forms.
2. Roll Paper-Thin and Score: Place dough onto a sheet of parchment paper and roll out as thinly and evenly as possible. Using a pastry wheel or pizza cutter, score the dough into neat square grids and sprinkle with coarse flaky sea salt and extra herbs.
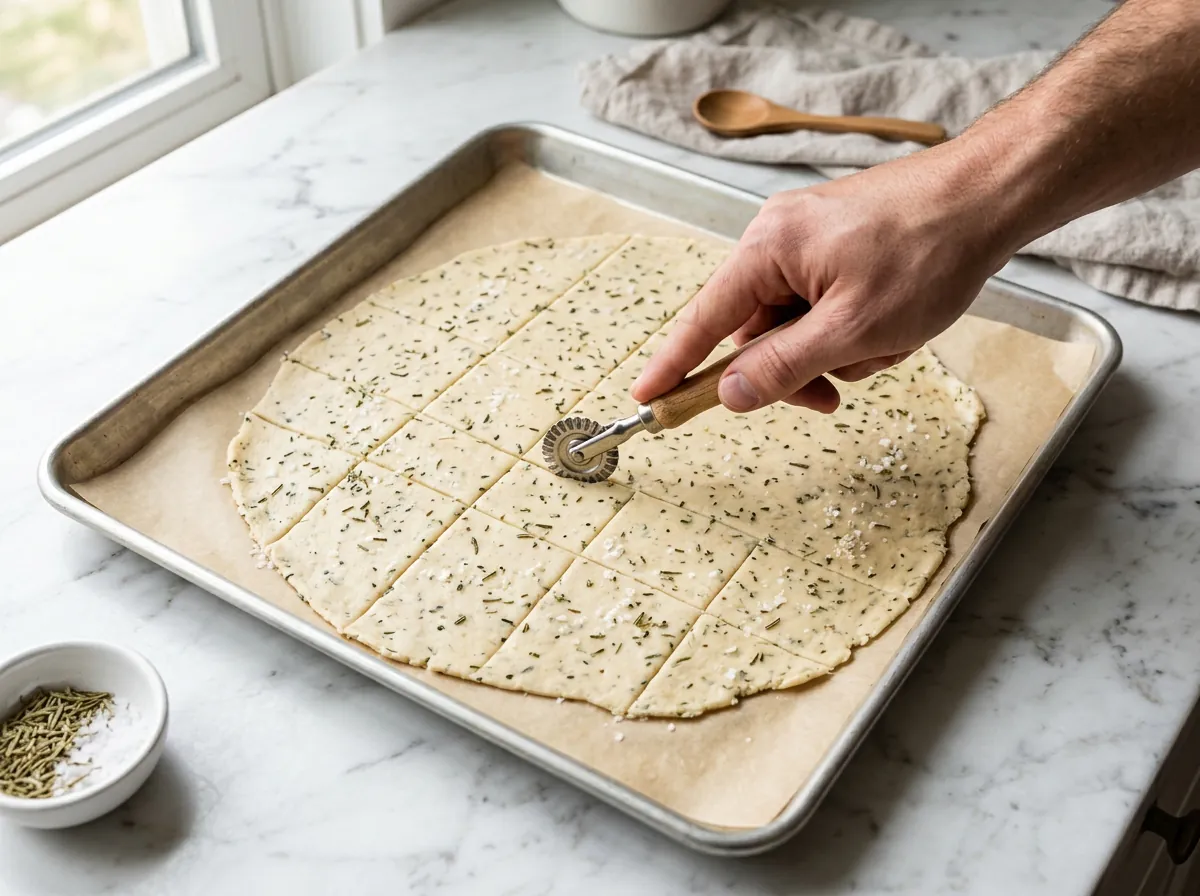
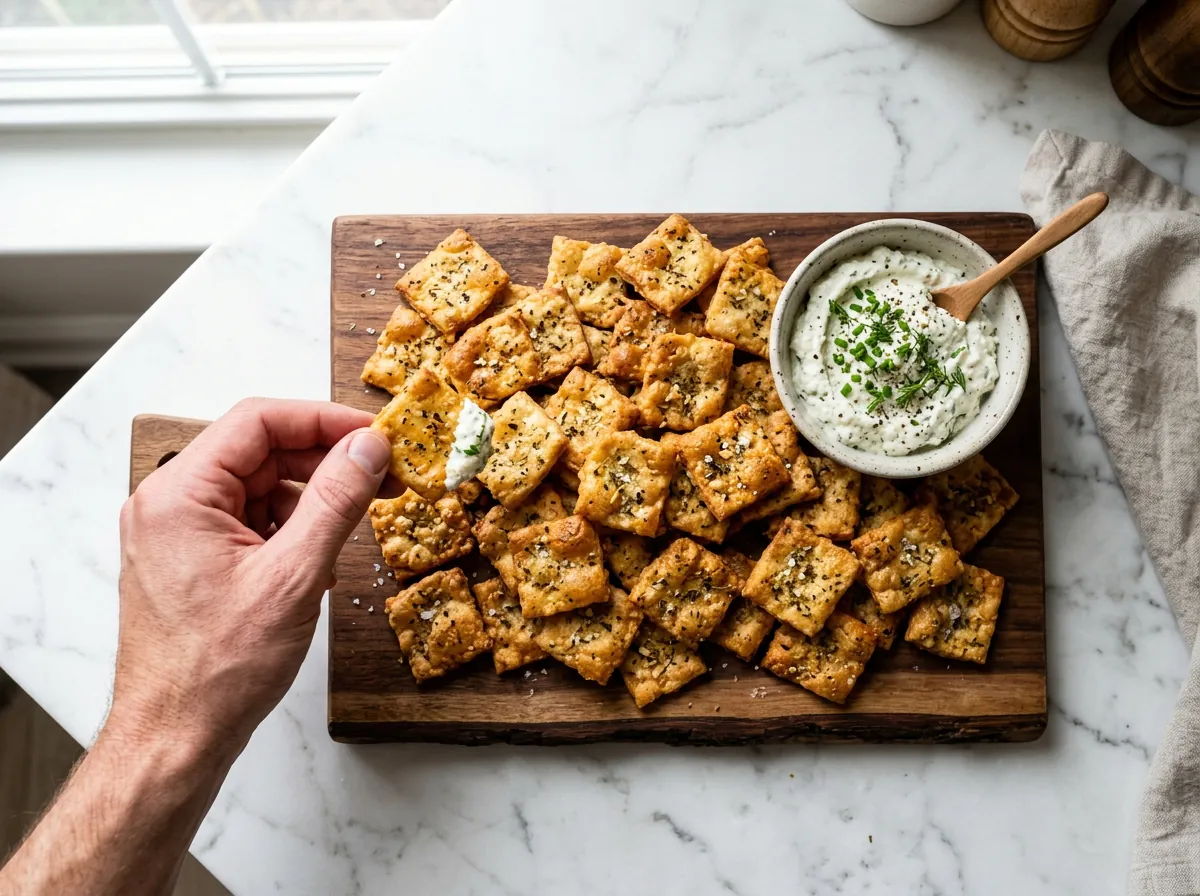
3. Bake Until Crisp and Golden: Transfer parchment onto a baking sheet and bake at 325°F (165°C) for 20 to 25 minutes until deep golden-brown and crispy. Let cool completely to achieve maximum crunch, then snap apart and serve with your favorite creamy dip!
Switch It Up: Easy Variations
These crackers are versatile, especially on busy weeknights when I’m looking for a quick snack. Here are some variations to try:
Herb Swap: Replace the dried rosemary or thyme with oregano or an Italian blend. It’ll give your crackers a different flavor profile while keeping that herby goodness.
Cheesy Addition: Consider adding nutritional yeast to the dough for a cheesy twist. It amps up the flavor without complicating the recipe.
Fiber Boost: Want a boost of fiber? Try mixing in ground flax or whole wheat flour. It’ll add some extra nutrients while still keeping the texture intact.
Feel free to experiment and find your favorite combo!
Storing Leftover Crackers
To keep these garlic herb crackers fresh, store any leftovers in an airtight container at room temperature. They should stay crisp for about 3-4 days. If you want to keep them longer, you can freeze them for up to 3 months. Just make sure they’re cool before sealing them up; this helps prevent moisture from making them soggy.
When it comes to reheating, I recommend popping them back in the oven at 300°F (150°C) for a few minutes. This brings back that crispy texture. Keep an eye on them so they don’t burn. You’ll be back to snacking in no time!
Perfect Pairings for Your Crackers
These garlic herb crackers shine on their own, but they really come alive with the right accompaniments. Whether you’re snacking solo or entertaining friends, adding a few sides can elevate the experience.
What to Serve Alongside
- Perfect with Creamy Dips: These crackers are great with your favorite creamy dips, adding a crunchy contrast that makes each bite enjoyable.
The Best Toppings
- Cracked Pepper: A sprinkle of cracked pepper adds a nice kick that brightens the flavors. It gives an extra layer of complexity, making each bite more exciting.
What are your go-to dips or toppings for snacks like these? I’d love to hear your favorites!
Sourdough Discard Garlic Herb Crackers – Easy, Crispy, No-Waste Recipe + Perfect Snack
Ingredients
Method
- Preheat oven to 325°F (165°C). Line a baking sheet with parchment paper. <
- In a medium bowl, combine the sourdough discard, olive oil, garlic powder, and dried herbs. Stir until smooth.
- Add the flour and salt. Mix until a soft dough forms.
- Place the dough between two sheets of parchment paper and roll it out to about 1/8-inch thick.
- Remove the top sheet of parchment and score the dough into cracker-sized squares or rectangles using a knife or pizza cutter.
- Sprinkle with additional salt, herbs, cracked black pepper, or grated Parmesan, if desired.
- Bake for 20–25 minutes, or until the crackers are crisp and lightly golden.
- Let the crackers cool completely before breaking them apart along the scored lines. Store in an airtight container.
Nutrition
Notes
Tried this recipe?
Let us know how it was!